AI Image Relight
Change photo lighting with AI.
See What a Different Light Can Do
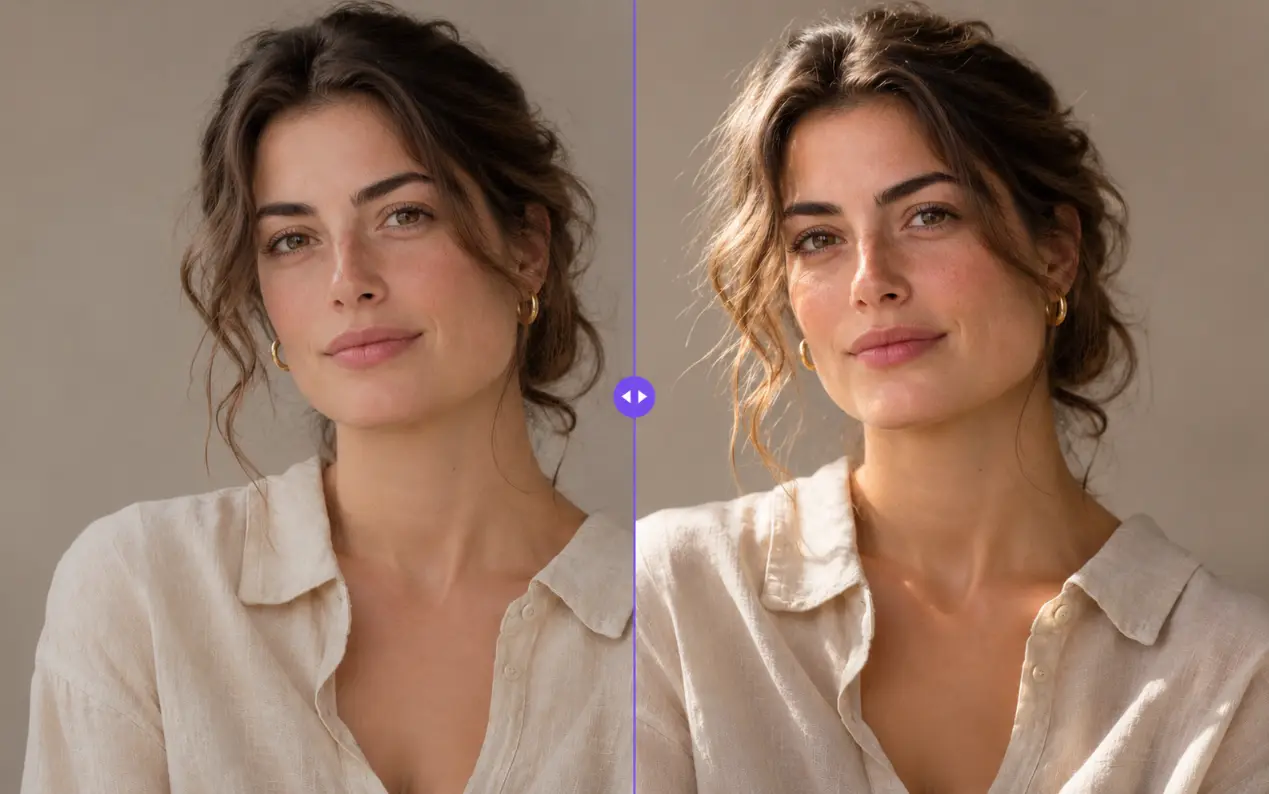
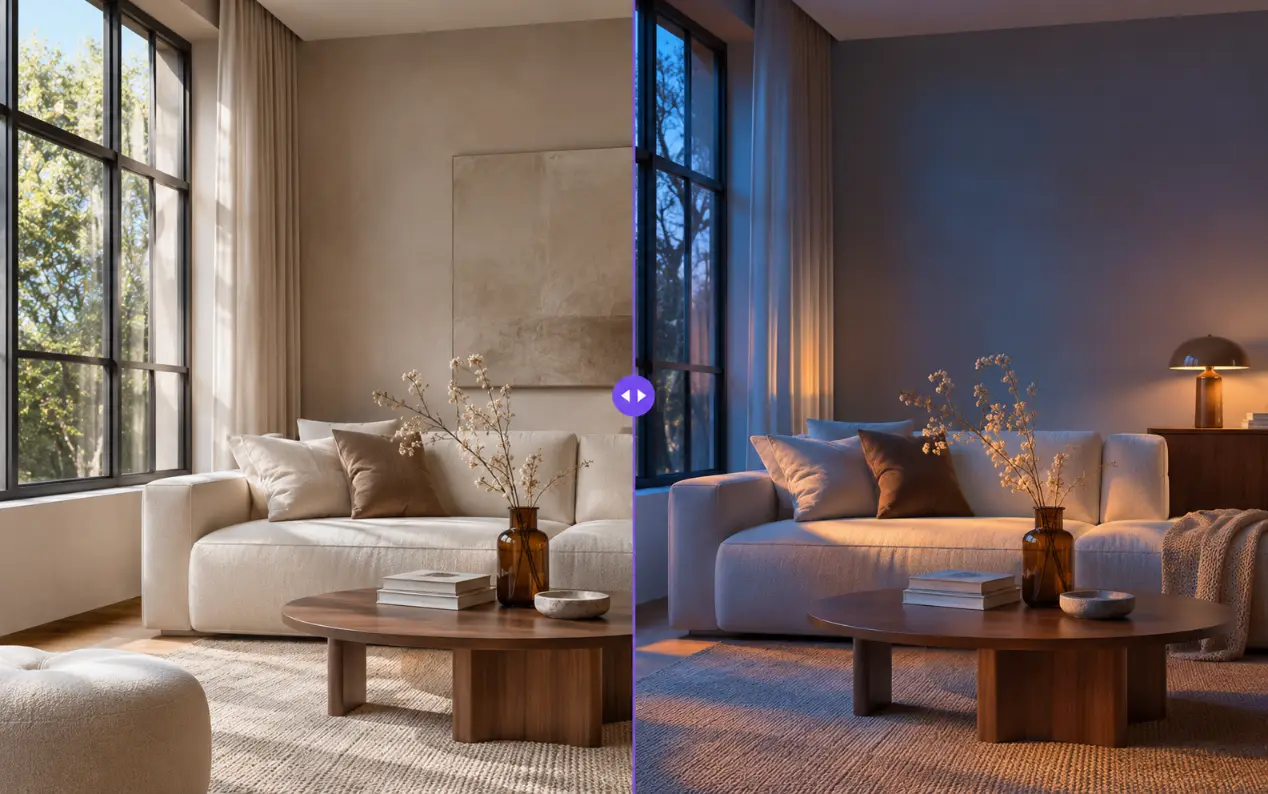
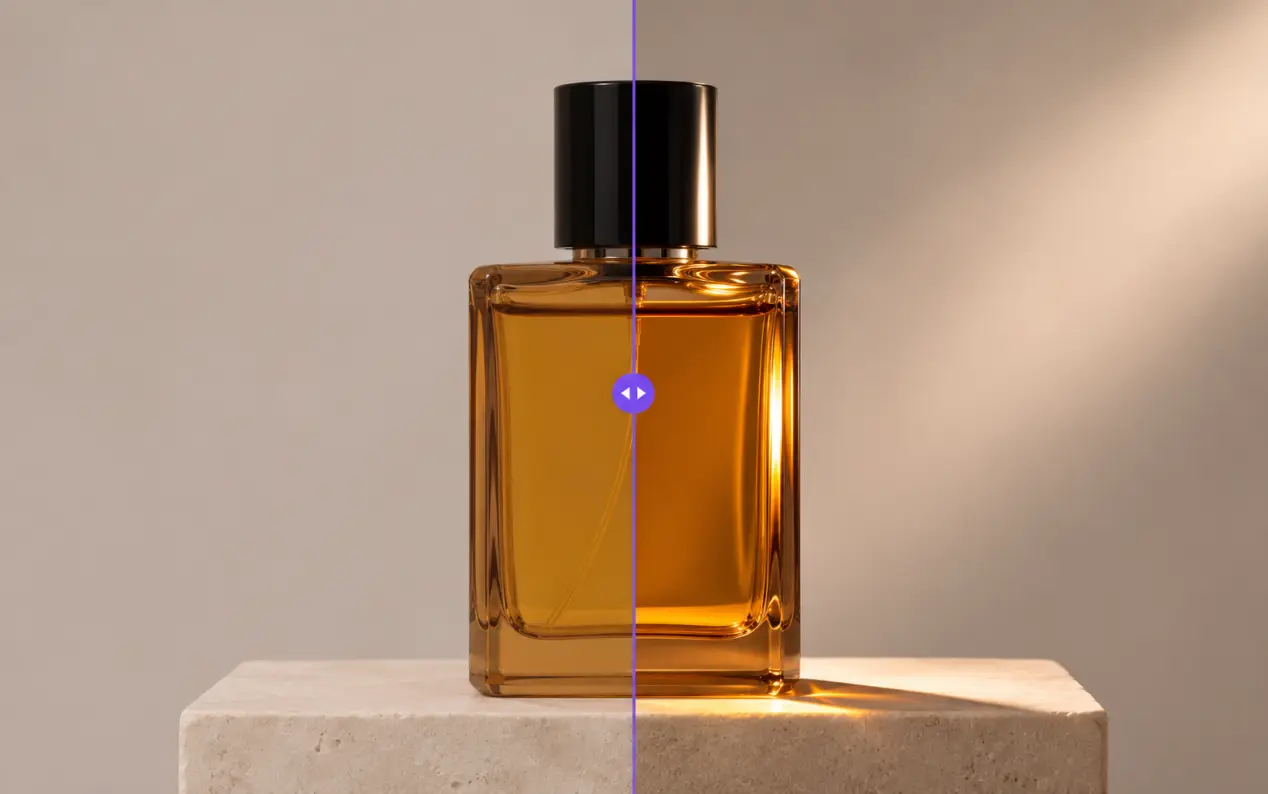
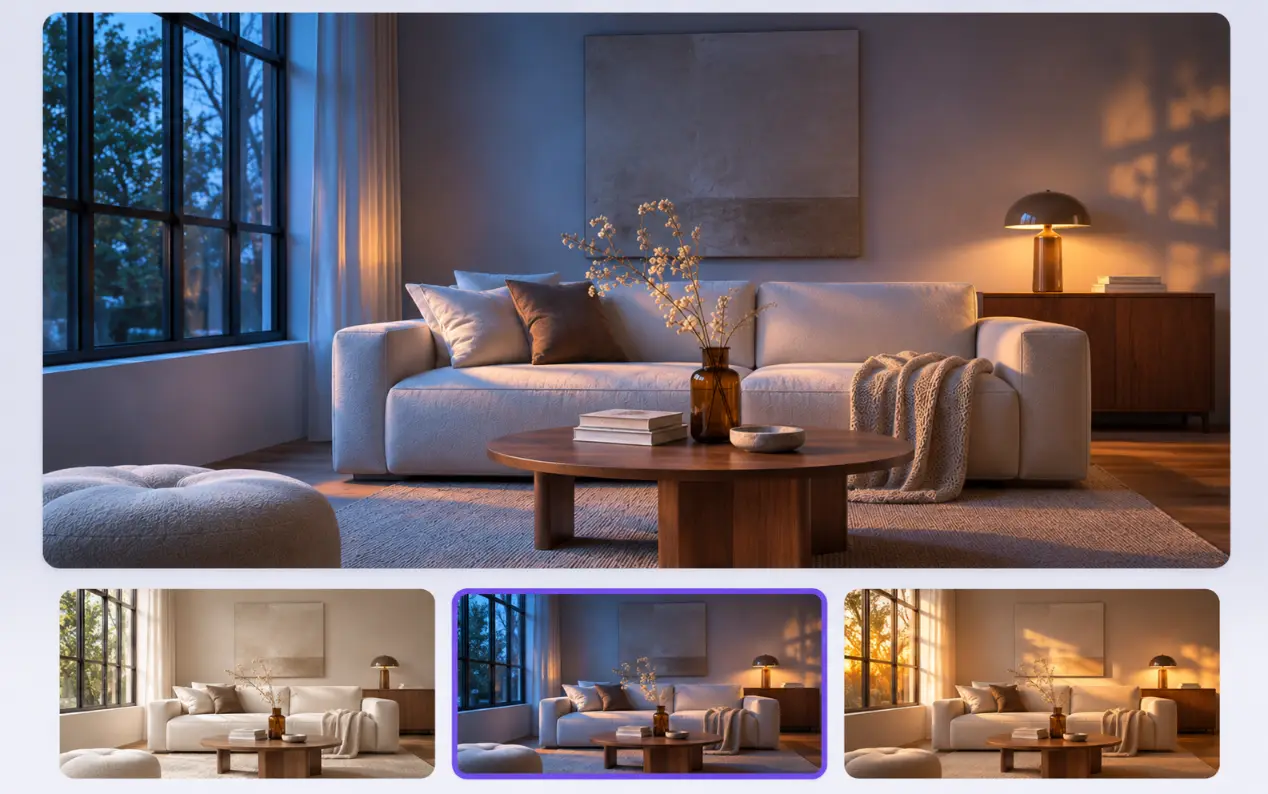
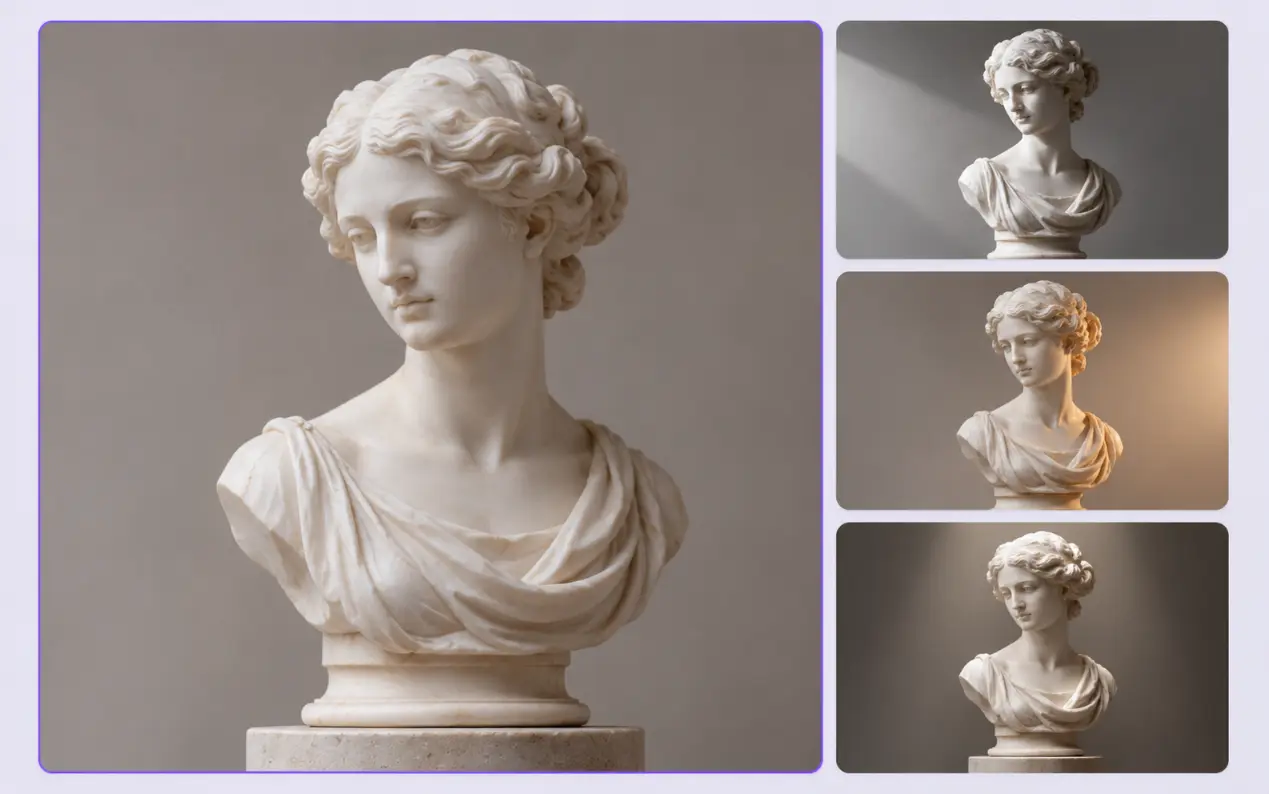
A lighting change can make the same scene feel calm, polished, mysterious, or cinematic. Compare an original image with its relit version to see where highlights appear, how shadows fall, and how the atmosphere changes. A natural relight may gently reshape a portrait; a blue-hour treatment can introduce cooler surroundings and a warmer accent, while a studio-inspired look can give products a more deliberate sense of depth.
Blue Hour
Studio lighting
Change the Light, Not the Subject
Choose a Light Direction
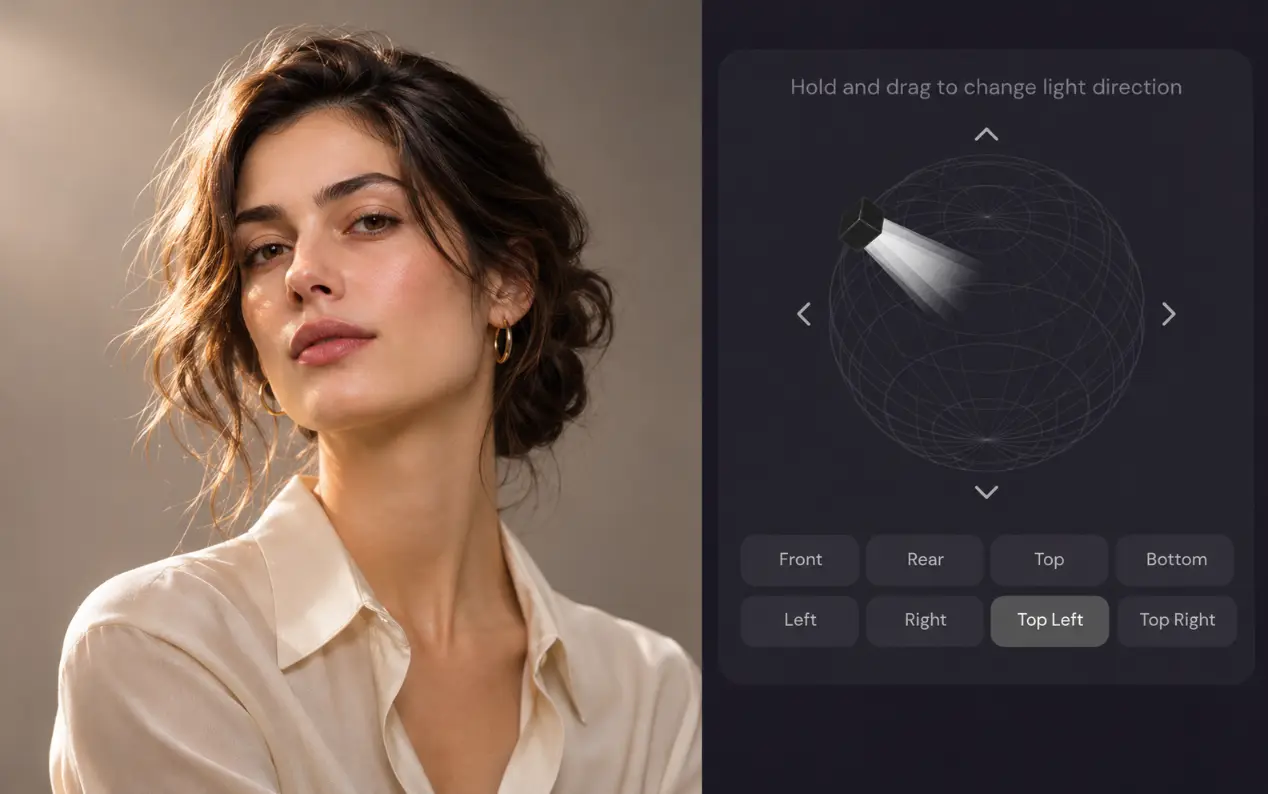
Light direction changes which surfaces appear illuminated and where shadows are expected to fall. A side light can bring out the shape of a face or a textured product. Front light generally reduces strong directional contrast. Backlight can introduce an illuminated edge around a subject, while top light creates a different pattern of highlights and shadows. Choose a direction preset instead of writing a technical lighting description from scratch.
Select a Lighting Style
Direction answers where the light comes from; style answers what the lighting feels like. Natural daylight, warm sunset-inspired looks, blue hour, moonlight, and stylized cinematic treatments can give the same composition very different emotional qualities. Selecting a style helps communicate the desired atmosphere without manually balancing multiple color and tone adjustments.
Keep the Original Scene as Your Reference
Relighting should not require replacing the person, redesigning a product, or moving furniture. Mixinflow guides the AI to retain the original subject, clothing, materials, camera view, background, and layout while reconstructing the apparent lighting. Because the result is AI-generated, very small details, reflective surfaces, fine text, and difficult shadows can still change. Always compare the output with the source when visual accuracy matters.
How to Relight a Photo with AI
Understanding Light Directions in Photo Relighting
The direction of light is one of the strongest influences on how a photograph reads. It affects perceived shape, depth, texture, and mood. AI relighting estimates how the visible scene might look under a new illumination arrangement; it does not measure the original scene as a complete physical 3D model.
Front
Top
Bottom
Left
Right
Top Left
Top Right
Bottom Left
Bottom Right
Rear
Front Lighting
Front lighting illuminates surfaces facing the camera. It often produces a clear, accessible appearance and can reduce the impression of deep side shadows. Use it for simple portraits, catalog-style product shots, or images where facial readability matters more than dramatic contrast.
Left and Right Lighting
Side lighting helps describe form by creating a brighter side and a darker side. Try it with portraits, furniture, ceramics, textured fabric, and objects with curved surfaces. Left and right are useful alternatives when you want to compare two visual treatments without changing the subject's position.
Top Lighting
Top light can resemble an overhead fixture, daylight from above, or a controlled studio setup. It emphasizes upward-facing surfaces and may deepen shadows beneath brows, noses, shelves, and objects. This direction can work for tabletop arrangements and atmospheric interior scenes, but the effect depends on the original composition.
Bottom Lighting
Lighting from below is less common in natural photography and is usually a creative choice. It can produce unusual facial shading or a theatrical mood. Try it for stylized concepts rather than assuming it will improve an everyday portrait. Subtle results often feel more coherent than extremely bright upward lighting.
Backlighting
Backlighting places the apparent light behind the subject. It can create edge highlights, separation, and a cinematic silhouette. The front of the subject may remain comparatively subdued, so backlight is not the best choice when the main goal is simply to brighten a face. Examine hair edges, translucent materials, and the background for consistency.
Diagonal Lighting
An upper-left or upper-right preset combines side illumination with a raised source. This often produces a familiar photographic balance: visible shape, natural-looking highlights, and shadows that help the subject sit within the scene. It is a useful starting point for portraits and products when you want a directional effect without an extreme theatrical look.
Explore Different Lighting Styles
Natural daylight is a good choice when the image should still look like a straightforward photograph. The aim is balanced, neutral illumination with moderate contrast and believable falloff. It suits profile photos, lifestyle images, product photography, and scenes where accurate-looking color matters.
Where AI Photo Relighting Is Useful
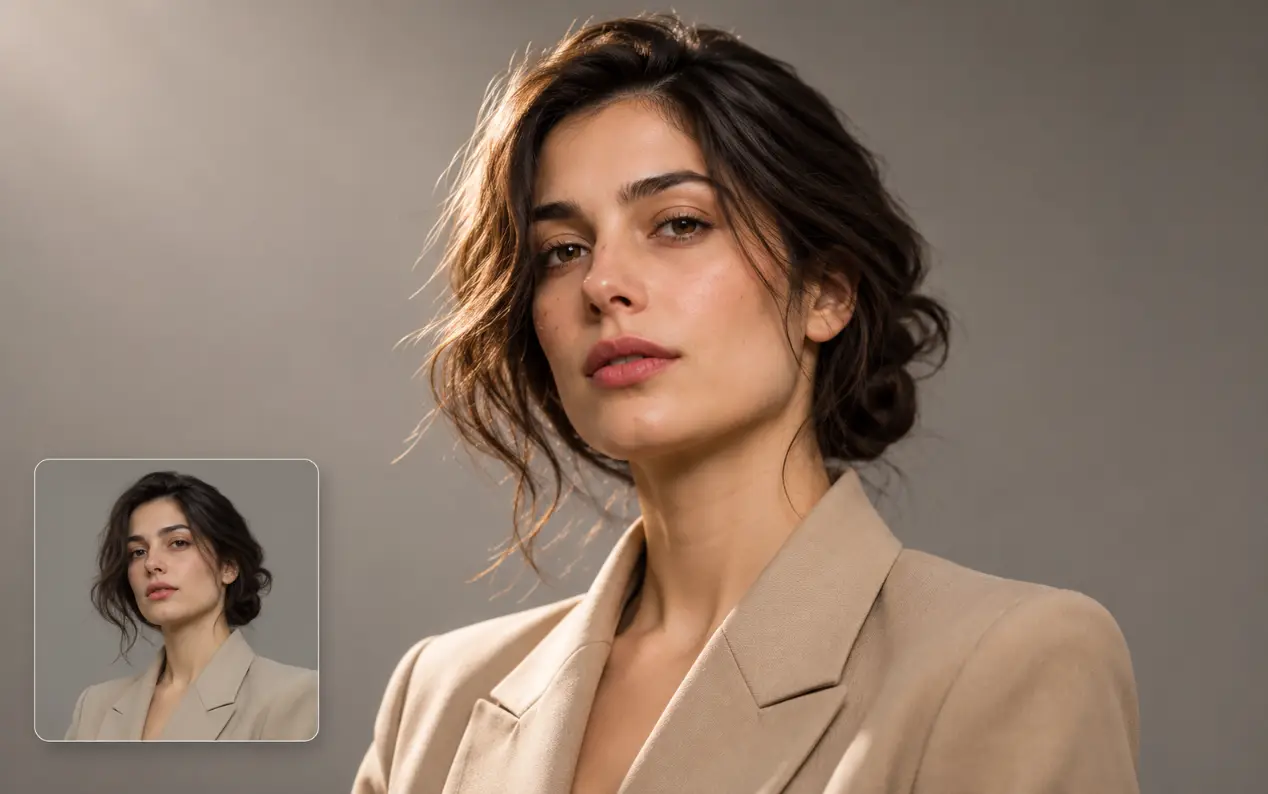
Portraits and Profile Photos
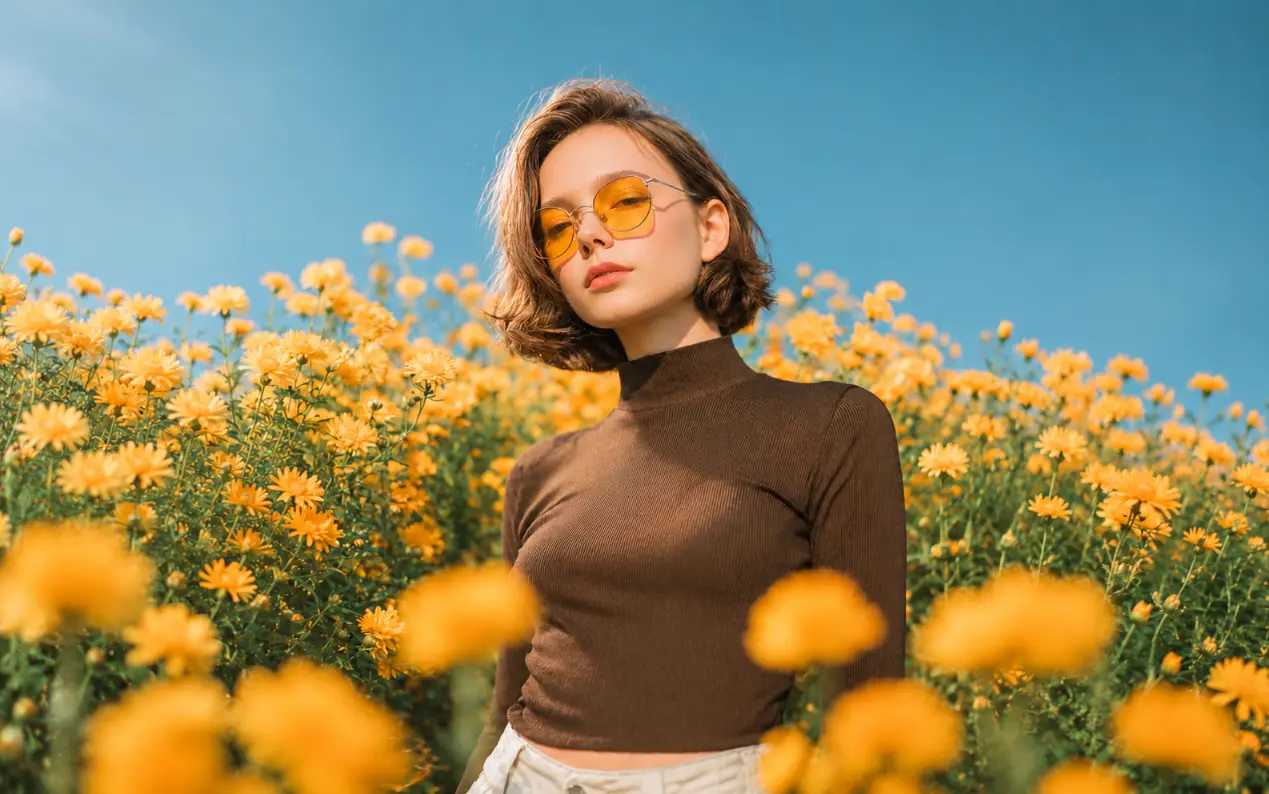
A portrait can have the right expression and framing but the wrong lighting mood. AI relighting lets you explore softer frontal illumination, more dimensional side light, or a dramatic backlit treatment from the same source image. It can be useful when testing creative directions before committing to a final edit. Compare facial features, eye highlights, hair, and skin texture closely, especially when the portrait needs to remain recognizable.
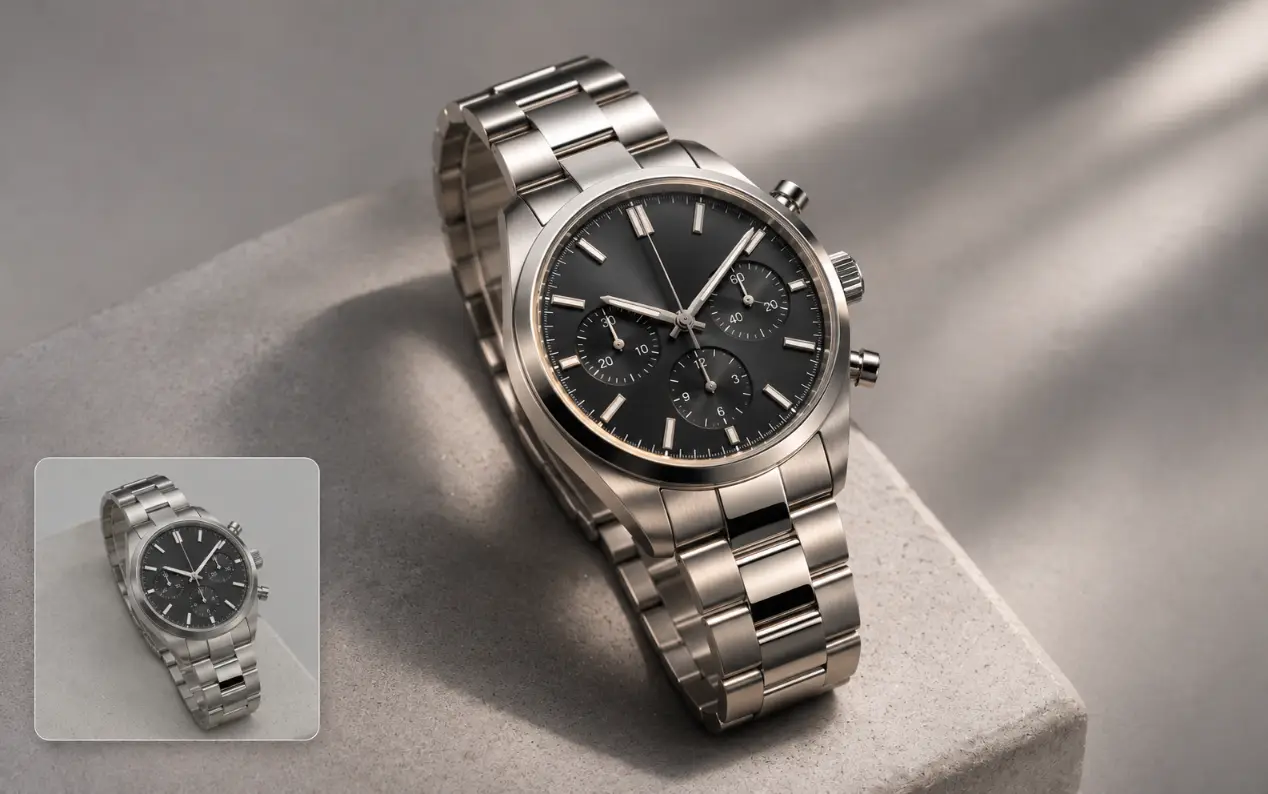
Product Photography and Ecommerce
Products often need different lighting for different contexts. A neutral product photograph might work for a catalog, while a warmer or more directional version could better support a campaign concept. Relighting can help explore these options without rearranging a studio for every idea. Glossy packaging, glass, metal, small logos, and text require additional scrutiny because generative edits may not reproduce them perfectly.
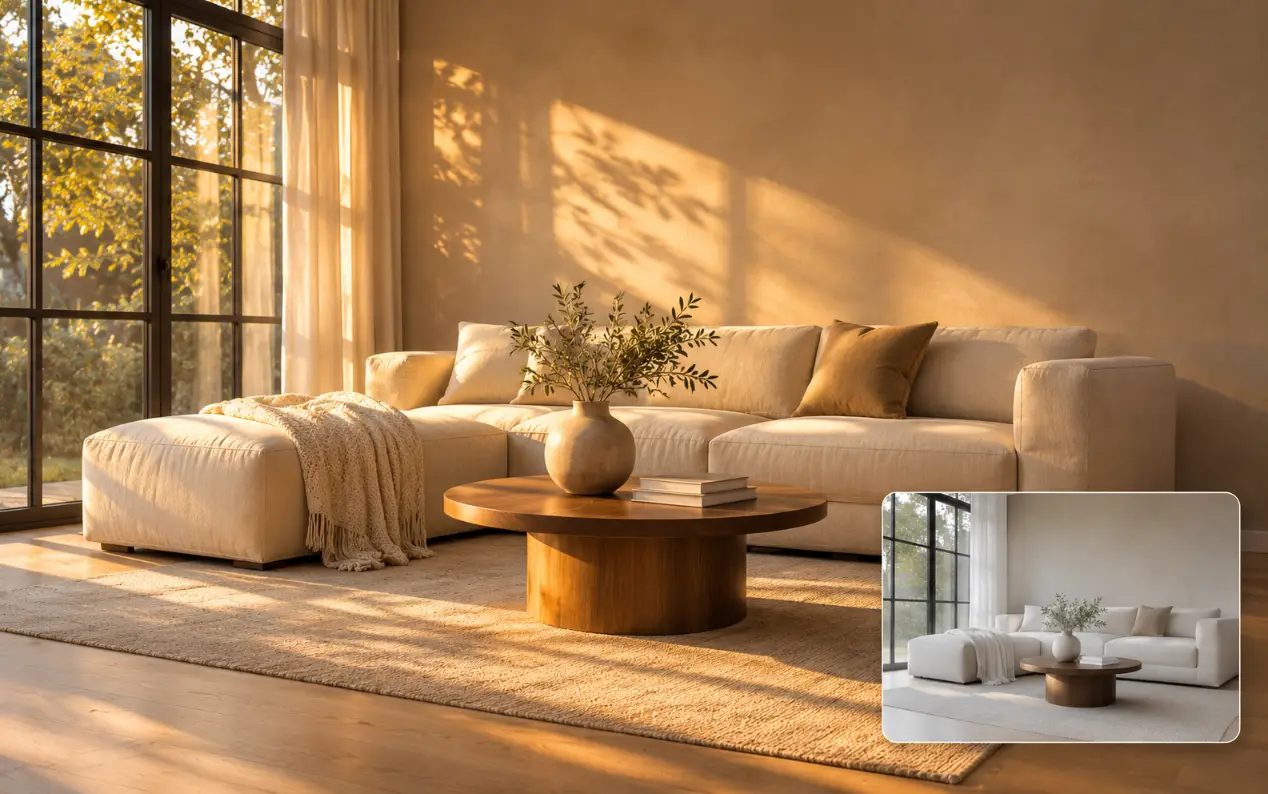
Interiors and Furniture
Light helps define a room's materials, volume, and mood. Relighting can be useful for exploring how a sofa, lamp, tabletop, or wall might appear under different illumination. It is particularly helpful for early creative concepts and visual presentations. However, an AI result is an artistic estimate, not a verified architectural daylight or lighting-engineering simulation.
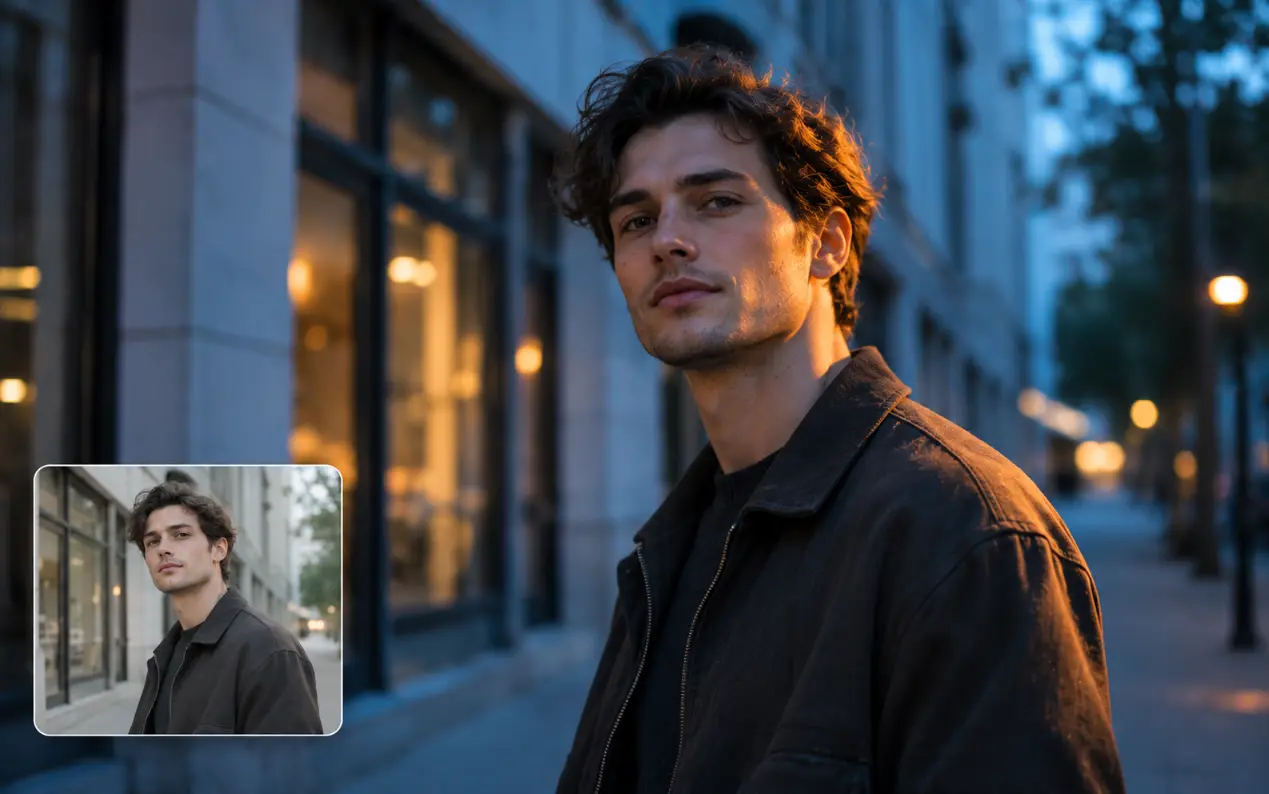
Posters and Creative Concepts
For a poster, editorial visual, or mood board, lighting can unify the subject and background. A cooler atmosphere may support a futuristic design, while a warm side light may create a nostalgic feeling. Relight the photograph first, then use a separate editing workflow if you need to replace objects, expand the canvas, or rearrange the layout.
AI Relighting vs. Brightness Adjustment: What's the Difference?
Increasing brightness generally makes existing pixels lighter.
| Approach | What it changes | Best for |
|---|---|---|
| Brightness Adjustment | Exposure and contrast controls can improve visibility, but they do not inherently decide that a new light should come from the left, above, or behind the subject. A conventional filter can shift color and tone across an image without reconstructing a coherent new arrangement of highlights and shadows. | Use a photo enhancer when the image mainly needs clearer detail, balanced exposure, or general improvement. |
| AI Relight | AI relighting is different because it attempts to reinterpret how the scene is illuminated. A side-light instruction may brighten one side of a face while keeping the other more shaded. A blue-hour style may alter the apparent ambient light and the relationship between warm and cool areas. These changes are generated estimates, not guaranteed physical measurements. | Use AI Relight when the existing composition works but the direction or atmosphere of the light does not. The two tools solve related but distinct problems. |
Tips for More Natural AI Relighting Results
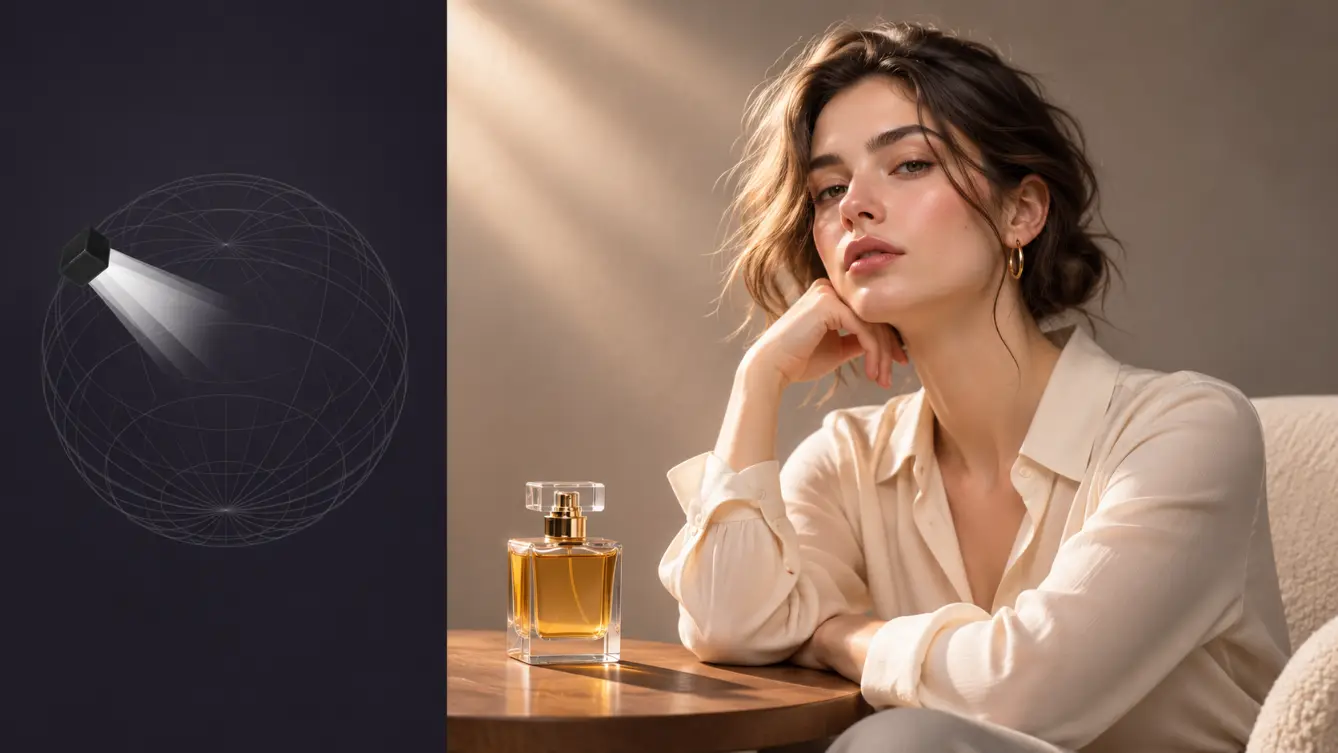
Start with a Clear Original
Start with a sharp, well-exposed photo. Clear surface detail gives the model more information to preserve while rebuilding the lighting.
Change One Creative Choice at a Time
Compare directions with one neutral style first. After choosing a direction, test warmer, cooler, or more cinematic lighting styles.
Check Shadows and Reflections Together
Review contact shadows, reflections, and catchlights together. Consistent light across the subject and background makes the result feel grounded.
Watch for Overly Strong Effects
Avoid extreme rim light, deep shadows, and heavy color casts. Moderate lighting usually works better for portraits and commercial images.
Compare Important Details Before Publishing
Inspect faces, hands, text, edges, and transparent materials. If an important detail changes, retry with a more neutral direction or style.
Frequently Asked Questions About AI Relight
Continue Editing with Mixinflow
Relighting is one part of a broader photo-editing workflow. If your original image needs more clarity, use Photo Enhancer before experimenting with lighting. For higher output dimensions, explore Upscale Image. If you need to isolate a subject, try Background Remover. To remove a distracting item or change the composition, use Remove Objects from Photos or Image Extender. Choose the tool that matches the actual problem rather than forcing every edit through relighting.
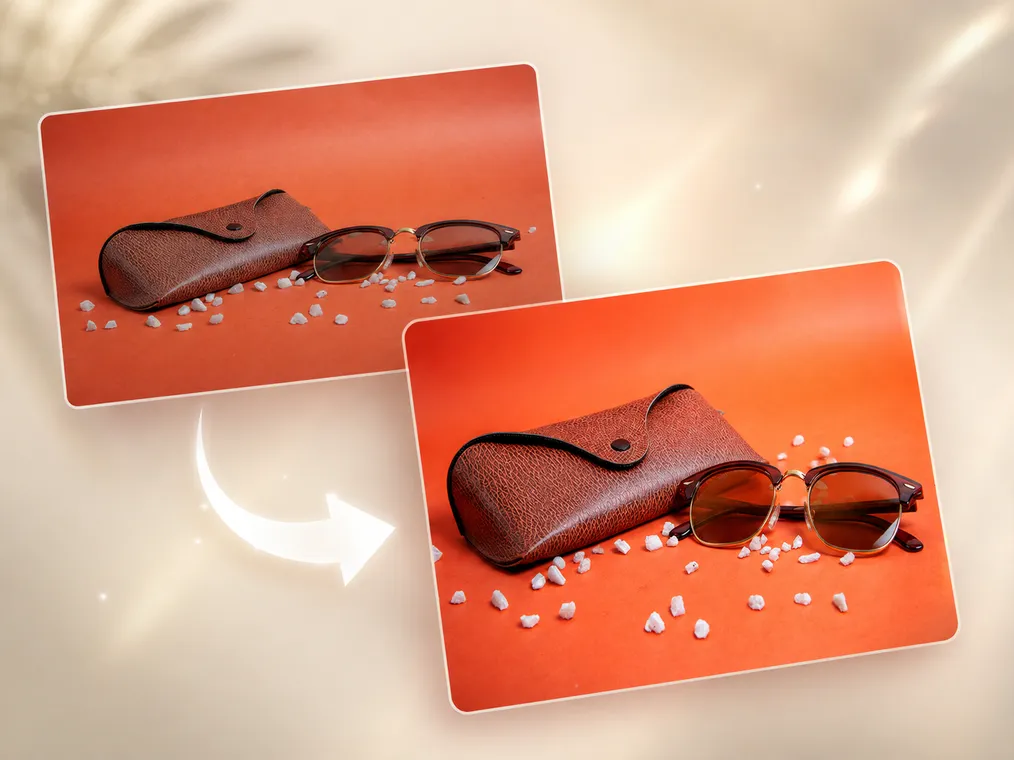
Photo Enhancer
Automatically improve clarity, detail and overall image quality.
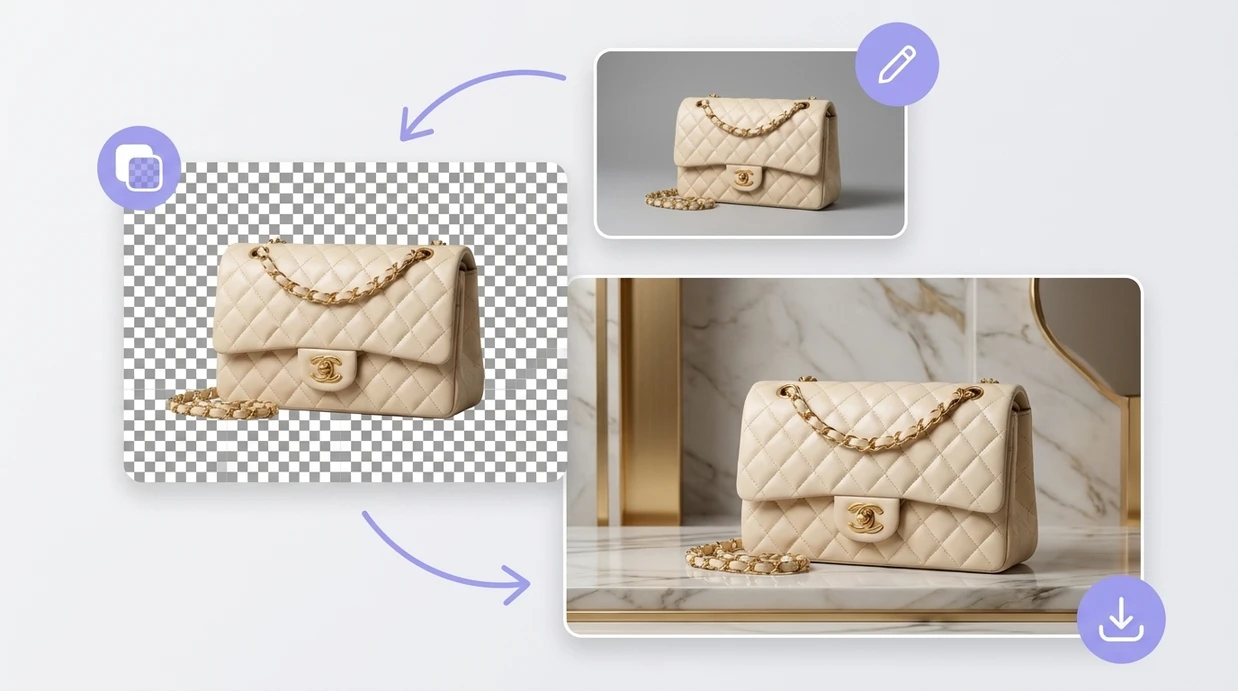
Background Remover
Remove a photo background while keeping the subject clean and clear.
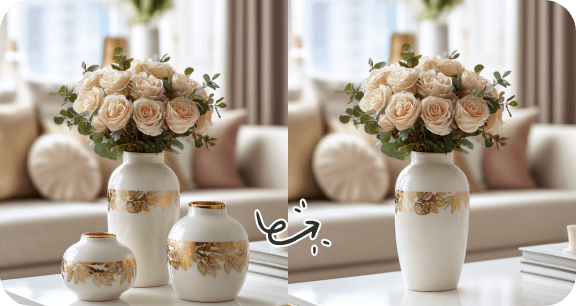
Remove Objects from Photos
Erase unwanted objects and naturally rebuild the background.
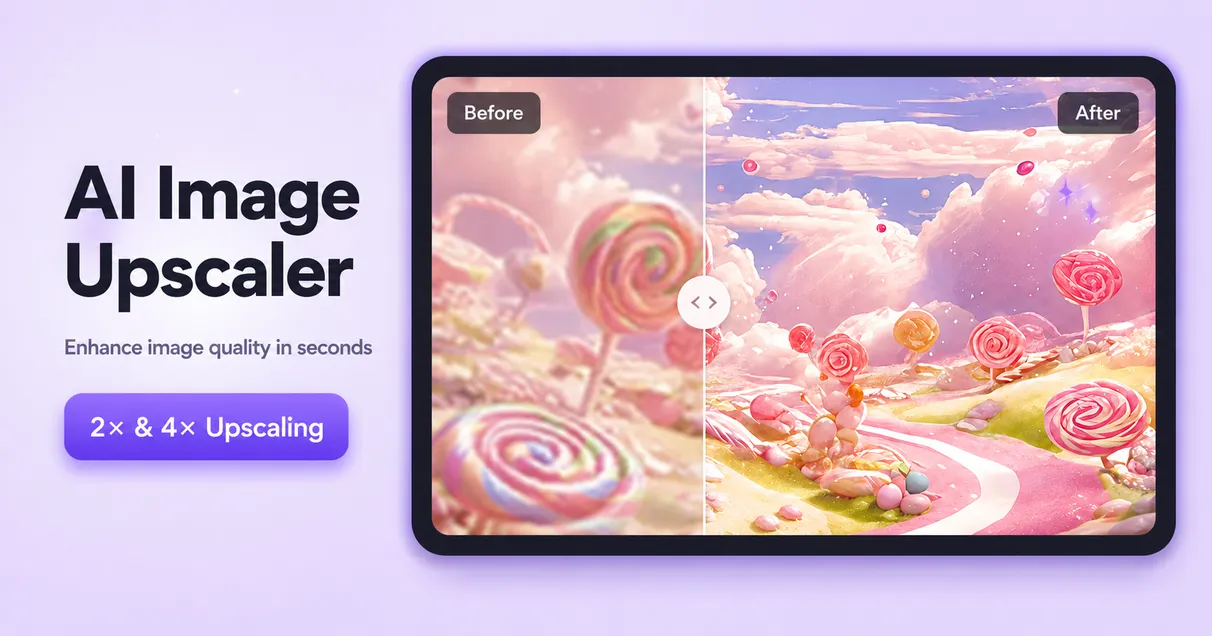
Upscale Image
Increase image resolution for larger, cleaner results.
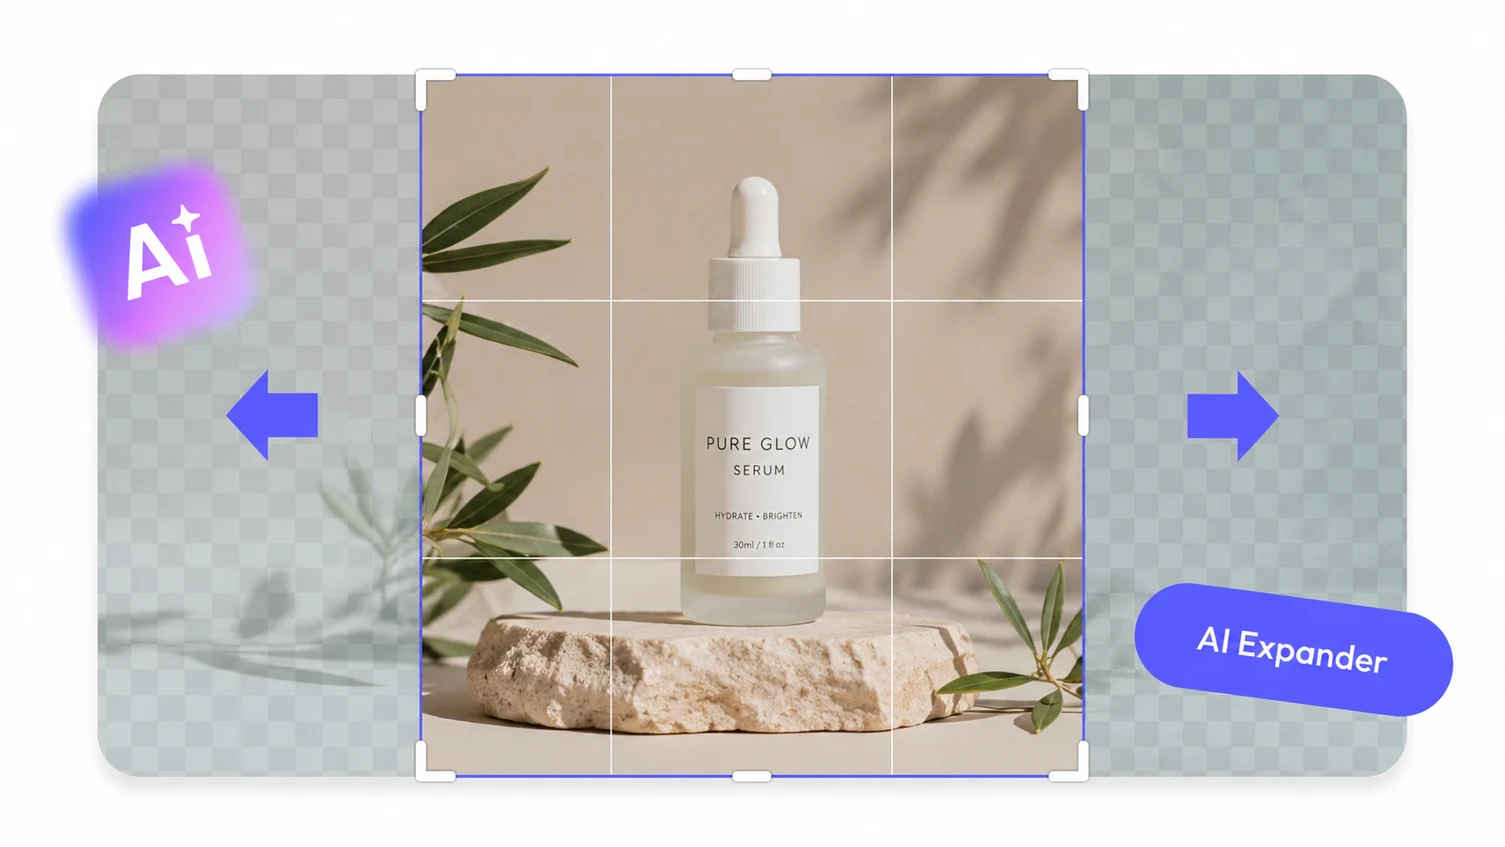
AI Image Extender
Expand an image beyond its original borders with AI.
Give Your Photo a New Light
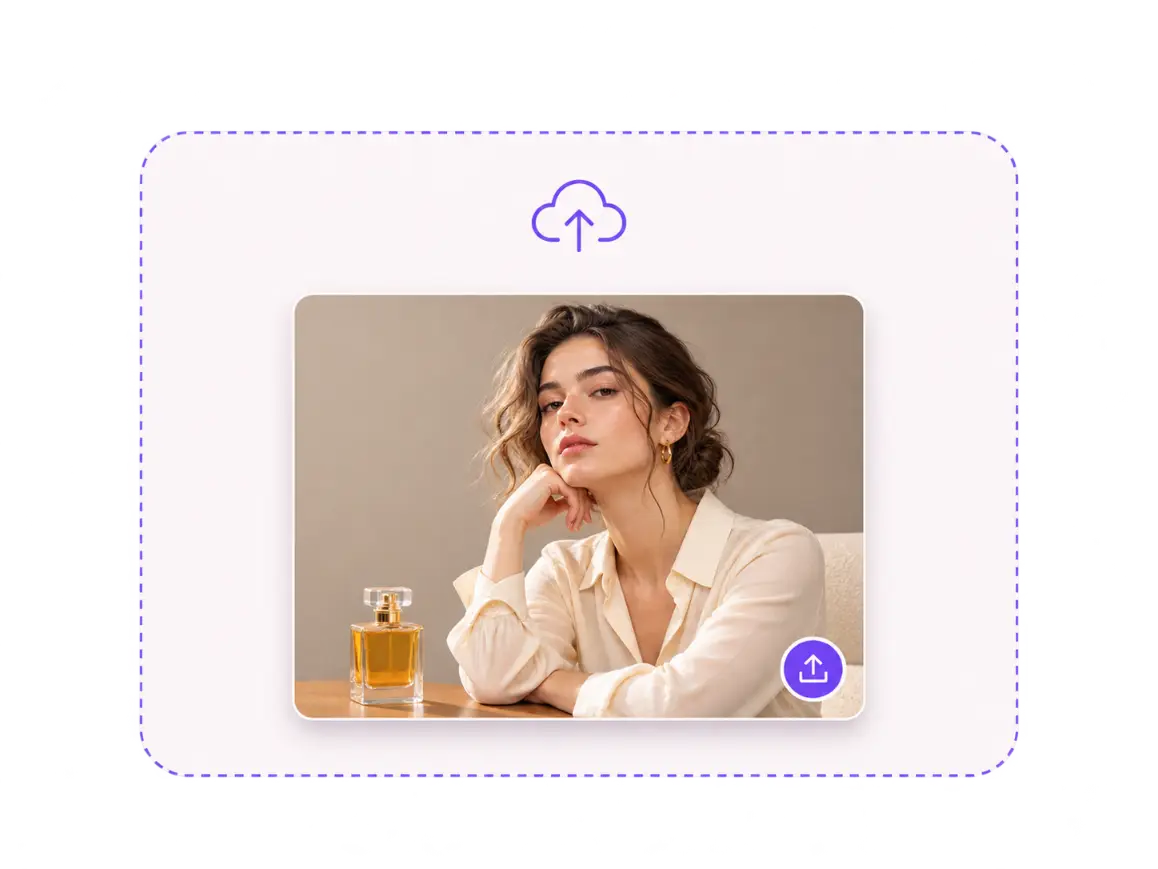
Keep the shot you like and explore a different atmosphere. Upload your image, choose a light direction, select a style, and see how a new lighting treatment changes the scene. Start with natural light or try a more cinematic look when the story calls for it.
Try AI Relight